Setting Up Flair Bridge
What is Flair Bridge?
Flair Bridge (product code MRMC-2452) is a small hardware device from MRMC that lets any modern Mac, Windows, or Linux computer control MRMC robots — without a real-time operating system, custom network chipset, or BIOS modifications.
Internally it runs the Flair Root (the real-time robot communication layer), so your Flair computer connects to it over standard Ethernet the same way it would connect to any network device. This replaces the entire INtime + cifX card / Thunderbolt box stack that was previously required for Windows, and enables Mac and Linux operation for the first time.
In plain language, the Bridge is the box between the computer and robot. The computer runs the Flair screen; the Bridge handles the time-critical robot communication. For most rigs, the job is simply computer → Bridge → rig controller. Bolt systems are different because one Bridge socket is reserved for EtherCAT, so they require the separate managed-switch layout shown below.
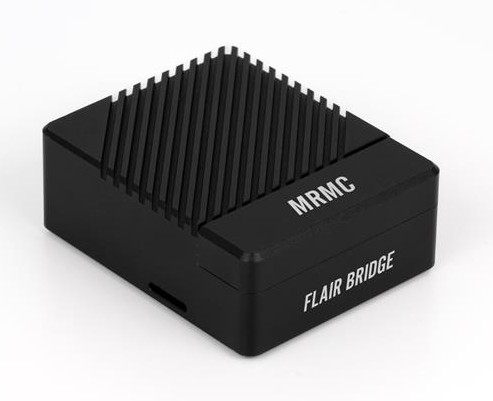
"With Flair Bridge, operators gain unprecedented freedom and simplicity. It works across Mac, Windows, and Linux platforms, making this the first time Macs can be used to control MRMC rigs." — MRMC Support, November 2025
What Flair Bridge Replaces
| Component | Without Bridge | With Bridge |
|---|---|---|
| INtime (Windows real-time OS) | Required | Not needed |
| cifX EtherCAT card / Thunderbolt box | Required for Bolt | Not needed |
| BIOS modifications | Sometimes required | Not needed |
| Special network chipset | Required | Not needed |
| Dedicated desktop PC | Often required | Not needed — use a laptop |
Thunderbolt / cifX box
The Thunderbolt box shipped in some Cinebot Mini Pelican cases houses the INtime-compatible cifX card. If you switch to Flair Bridge (or Flair on Linux), you don't need it. (Source: MRMC Support + Timothy Heys Cerchio, March 2026)
Compatibility
Flair Version
| Flair Version | Support |
|---|---|
| Flair 7.7.4 Beta or higher | Required — minimum version for Bridge |
| Flair 7.7.14 Beta or higher | Recommended — contains fix for macOS IPv6 routing issue |
| Flair Classic (Windows only) | Supported — EtherCAT still in beta as of March 2026 |
| Flair Classic on Mac/Linux | Not supported regardless of Bridge |
Operating System
| OS | Requirement |
|---|---|
| Windows | Windows 10 Build 1809 or later |
| macOS | macOS 12 or later, arm64 (M-series) only — Intel x86_64 had a crash issue as of Nov 2025 |
| Linux | Ubuntu 24.04 (other distros may work but untested) |
Confirmed Working Rigs (Community Reports)
| Rig | Status |
|---|---|
| Cinebot Nano | Ships with Flair Bridge by default |
| Cinebot Mini | Confirmed working — Mac + Bridge demo published by MRMC |
| Cinebot Max | Confirmed in use (Mac M1 + Bridge) |
| Bolt Jr+ | Confirmed working (Mac + Bridge) |
| Bolt (EtherCAT) | Working in Flair 7 — requires managed switch (see below) |
| Milo, Modula, other non-EtherCAT rigs | Expected to work — follow non-Bolt setup |
Hardware Overview
The Flair Bridge is a compact unit powered via USB-C.
┌──────────────────────────────────────┐
│  [1] USB-C power                     │
│  [2] ETH1 — Flair workstation / LAN  │
│  [3] ETH0 — EtherCAT (Bolt only)     │
│  [4] USB 3.0 — video camera (opt.)   │
│                                      │
│  [5] STAT LED                        │
│  [6] BOOT button (MRMC use only)     │
│  [7] PSW button (power on/off)       │
└──────────────────────────────────────┘
STAT LED:
- Flashing green — Bridge is booted and ready
- Solid red — Powered but not yet booted
- Solid red (after use) — Use PSW button to reboot
PSW button: Only use when STAT LED is solid red. Do not use as a normal power cycle — unplug the USB-C instead.
Read the socket labels before plugging in
On a Bolt setup, ETH0 is the robot-only EtherCAT connection and ETH1 is the normal network connection. Reversing them will not produce the documented layout. On non-Bolt rigs the ports are interchangeable only where the official configuration says so. If the rig type or existing cable labels do not match this guide, stop and check the current Flair Bridge QSG before moving cables.
Method 1: Setup for All Rigs Except Bolt / EtherCAT
For Cinebot Mini, Cinebot Nano, Cinebot Max, Milo, and any non-EtherCAT rig:
Both ETH0 and ETH1 are interchangeable on the Bridge in this configuration — they form a virtual bridge with a shared static IP of 192.168.1.10.
Direct connection (laptop to Bridge)
┌──────────────┐  Ethernet  ┌─────────────┐  Ethernet  ┌──────────────┐
│  Flair       │ ─────────► │ Flair       │ ─────────► │  MRMC Rig    │
│  Workstation │            │ Bridge      │            │  Controller  │
└──────────────┘            └─────────────┘            └──────────────┘

Workstation static IP: 192.168.1.5
Flair Bridge IP: 192.168.1.10
Set a static IP of 192.168.1.5 on the Flair workstation's Ethernet interface.
Via company network / Wi-Fi
Connect ETH1 on the Bridge to the company network (Ethernet). The Bridge advertises itself as hostname flair-bridge via the network. Your Flair workstation can then connect over Wi-Fi.
Internet isolation
If the Bridge is on a network with internet access, Linux security updates will be applied automatically and the Bridge will stop working. See Critical Warnings below.
Method 2: Setup for Bolt / EtherCAT (Managed Switch Required)
For Bolt on Track and Bolt on Pedestal, the ETH0 port is pre-configured for EtherCAT only and cannot be used for general networking.
┌──────────────┐  Ethernet   ┌────────────────┐
│  Flair       │ ──────────► │    Managed     │
│  Workstation │             │    Switch      │
└──────────────┘             └───────┬────────┘
                                     │ ETH1 (TCP/IP)
                                     ▼
                             ┌─────────────────┐
                             │   Flair Bridge  │
                             │   192.168.1.10  │
                             └───────┬─────────┘
                                     │ ETH0 (EtherCAT only)
                                     ▼
                             ┌─────────────────┐
                             │   Bolt CS8      │
                             │  ('Robot Only') │
                             └─────────────────┘
- Find the existing cable labelled Robot Only. Confirm that it currently runs between the Bolt system and the old Flair computer; do not use an ordinary LAN cable merely because it has the same plug.
- Disconnect the Robot Only cable from the old Flair computer and plug that end into ETH0 on the Flair Bridge.
- Plug a separate Ethernet cable from ETH1 on the Flair Bridge into the managed switch.
- Plug the Flair workstation into another normal network socket on that managed switch.
MRMC provides a pre-configured Ubiquiti EdgeRouter X layer 3 switch with 2 VLANs — one for MRMC control, one for auxiliary (VP) network. Connect the 'Additional switch' (the black box) to this layer 3 switch.
Josh Ellis-Tufts (May 2026): "I've had our Bolt running through the Flair Bridge and it worked pretty seamlessly! You need a managed switch to then plug the Flair computer into since the ETH 0 port has to be used for the EtherCAT connection."
EtherCAT double-start workaround
As of April 2026, EtherCAT comms don't initialise on the first Flair launch with the Bridge. Workaround: Start Flair → it fails to connect → close Flair → start Flair again → connects normally. MRMC confirmed this is a known issue under investigation. See: Flair Bridge + Bolt EtherCAT Requires Two Flair Starts
Your First Session
Step-by-step first setup (from the official QSG):
- Export your profiles from your existing Flair PC: System → Profiles → Export
- Copy the
profiles.zipto a USB drive - On the new computer: assign static IP
192.168.1.5to its Ethernet interface (if connecting directly to the Bridge, not via company network) - Install and license Flair 7.7.4 Beta or higher on the new computer
- Connect the Bridge per Method 1 or Method 2 above
- Copy the
profiles.zipfrom USB to the new computer - In Flair: System → Profiles → Import — select the profiles folder
- Check "Convert to Flair Bridge" when importing — this is essential
- Import all profiles using the same option
- Close the Profiles dialog
- Bolt only: go to System → Flair Bridge connection → Set EtherCAT Configuration
- If you later use the Bridge with a non-Bolt rig: switch back to Set as Bridged Configuration
Subsequent Sessions
After initial setup, use Flair as normal. To verify Bridge connection at any time:
System → Flair Bridge connection
Removing INtime When Switching to Bridge
If your existing PC has INtime installed, you do not need to uninstall it — but you must:
- Disable INtime before using the Bridge
- Do not plug the Flair computer's Ethernet into the old INtime network adapter — use a different NIC
- Disable the virtual INtime network adapter in Windows Device Manager
Simon Wakley (February 2026): "You do NOT have to uninstall Intime. I found that I also had to disable the virtual Intime adapter. If you're like me you'd like to be able to revert to a known earlier version without a complete PC rebuild."
macOS Specific Guidance
Wi-Fi and routing
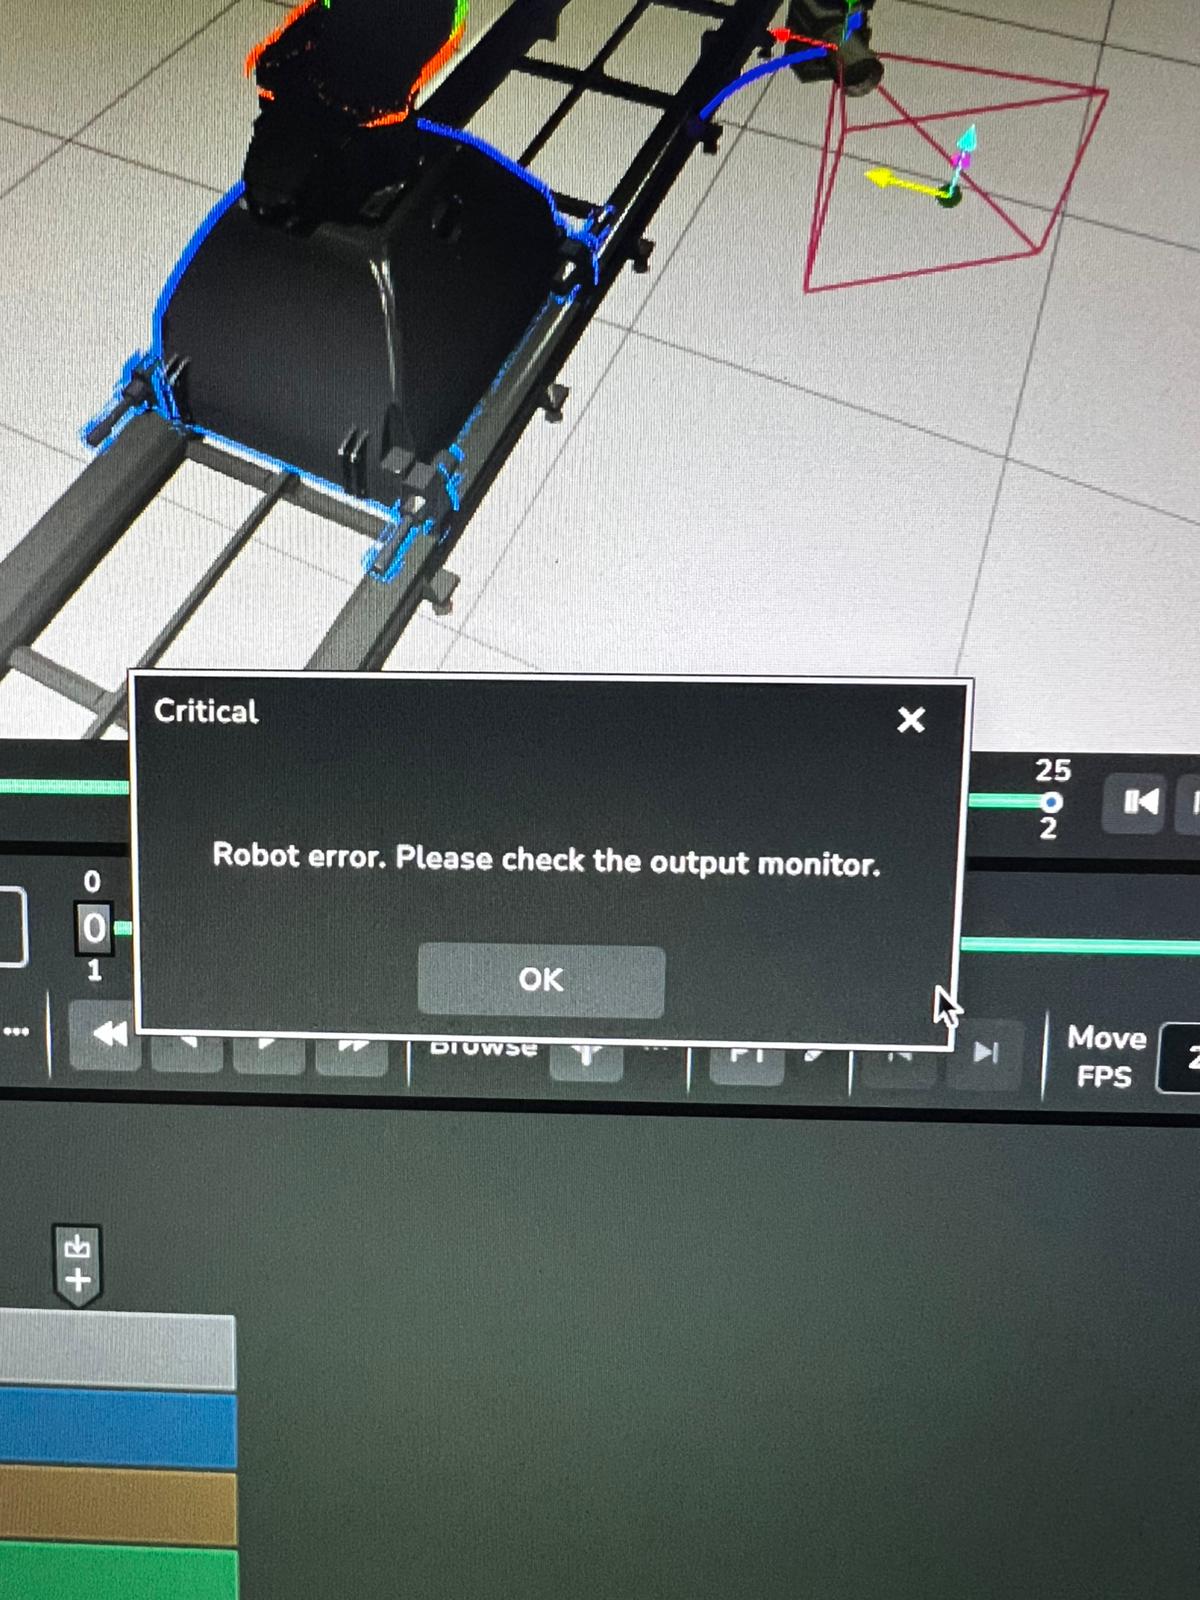
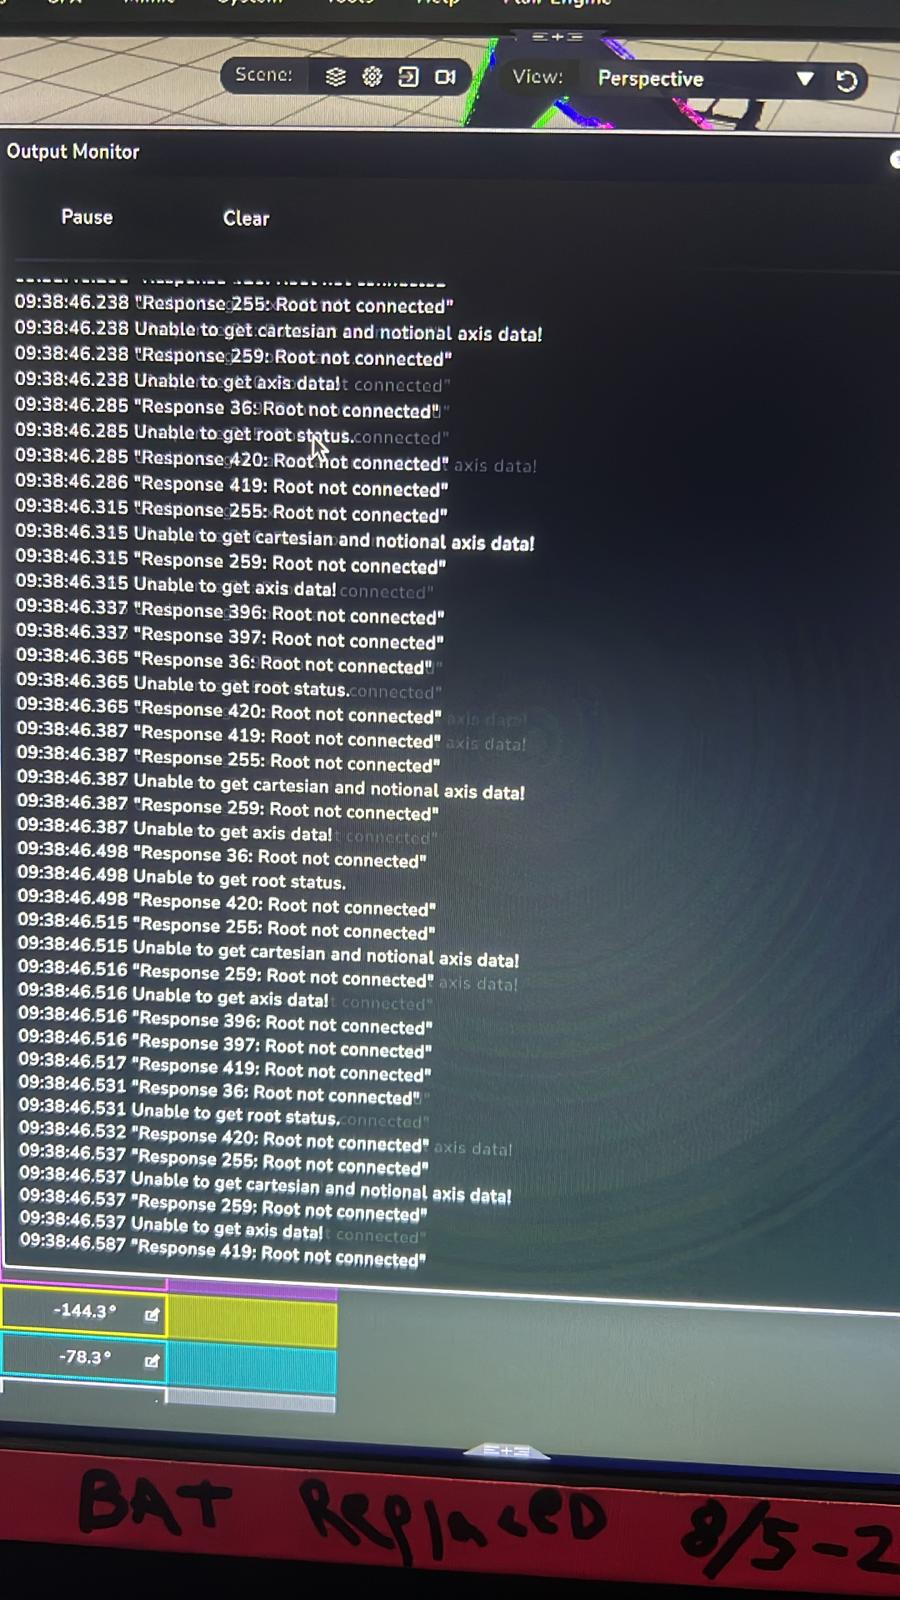
Keep Wi-Fi off while Flair is running with the Bridge. macOS can route Flair's network traffic over Wi-Fi instead of the Ethernet connection to the Bridge, causing nodes to drop or Flair to freeze.
Tom D (April 2026): "Turn Wi-Fi off when connecting via bridge. Seems to work fine when you turn it back on (e.g. to submit a report) but try keeping Wi-Fi off otherwise."
Navid Tansaz (May 2026): "Same here, on our Mac with Wi-Fi on, Flair just freezes."
If you need Wi-Fi for occasional internet access, connect to your hotspot before starting Flair, then switch to the Bridge Ethernet after.
IPv6 routing fix
Flair 7.7.14 Beta contains a fix for an intermittent connection failure on macOS caused by the OS preferring IPv6 over IPv4 to reach the Bridge. If you are on an earlier version and seeing intermittent Bridge connection failures on restart, update to 7.7.14+.
Mac sleep disconnection
If the Mac sleeps while Flair is connected to the Bridge, Flair will silently disconnect with no warning on wake.
Fix: Install Caffeine (or equivalent keep-awake utility). It sits in the menu bar and prevents sleep while active.
Josh M (April 2026): "Install a program called Caffeine — it's a little coffee cup in the menu bar that keeps the computer awake when it's full."
Critical Warnings
[CONFIRMED DANGER] Do Not Connect Bridge to Internet
MRMC Support, February 2026 (official):
"If the Flair Bridge is connected to the internet, for example by connecting it to your studio's LAN, it's very likely that security patches and updates will be applied to it automatically. This will cause the Flair Bridge to become unresponsive and stop working with Flair and your robot."
Rules: - The Bridge's Ethernet ports must only connect to the isolated MRMC control network - Your Flair workstation can access the internet via Wi-Fi — this does not affect the Bridge - A future Flair release will disable auto-updates on the Bridge OS; until then, isolation is mandatory
[CONFIRMED] Do Not Use a POE Switch
The Bridge is powered via USB-C. POE (Power over Ethernet) voltage on the Ethernet port causes hardware malfunction.
Simon Wakley (January 2026): "Do NOT plug your FlairBridge into a POE capable switch. Seems to not like it — under investigation."
Use a standard non-POE switch, or a POE switch with POE disabled on the port connected to the Bridge.
DIY Flair Bridge Alternative
When official units are unavailable, the community has confirmed a working DIY build:
Hardware (confirmed working by Colin Michael Quinn, May 2026): - Waveshare CM5-DUAL-ETH-MINI — Raspberry Pi CM5 + dual Ethernet carrier board - Board-only version (Amazon) — same board without case or PSU (requires separate 5V USB-C power supply) - Raspberry Pi CM5 module (sold separately) - MRMC Flair Bridge firmware image for MMC
Colin Michael Quinn (May 29, 2026): "Confirmed working"
Colin: "As long as you have an image to write to the MMC."
Cost: ~£150–200 vs £499 for the official unit. Note that the firmware image must be obtained from MRMC.
Related Issues
- Flair Bridge — Internet Isolation and POE Switch Warnings
[CONFIRMED DANGER] - Flair Bridge — Mac Wi-Fi Routing Node Dropouts
- Flair Bridge + Bolt (EtherCAT) Requires Two Flair Starts to Connect
- Flair Bridge — Product Overview, OS Support, and Setup
- Setting Up Bolt EtherCAT Communication — traditional vs Bridge comparison
- InTime Not Starting or Robot Not Found After Boot — if reverting from Bridge to INtime
- Windows INtime Upgrade for Windows 11 — if staying on INtime
- Cinebot Nano Track + Focus Random Trips — FlairBridge=True in ini
Official Documentation
MRMC Forum: The New Flair Bridge Device — official product thread with Mac + Cinebot Mini demo video